

BoldSign AI Assistant
Chat with the BoldSign AI AssistantEdit already created template using API
If you need to modify a template that you created earlier, BoldSign provides the capability to edit templates using the API.
Create a template in your account
Before you proceed to edit a template, you must have the templates already existing within your account. If you haven't created templates yet, you can follow these steps:
To create a template in the BoldSign web application, refer to the article Create Template.
To create a template using the API, follow the steps outlined in the article Create template through API.
Edit the template using the API
Once you have templates in your account, you can proceed to edit them using the API. To edit a template within your application, you need to provide the template ID. Here's how you can achieve this:
Use the following codes to initiate the template editing process:
Code snippet
curl -X 'POST' \
  'https://api.boldsign.com/v1/template/getEmbeddedTemplateEditUrl?templateId={Your template Id}' \
  -H 'accept: application/json' \
  -H 'X-API-KEY: {your API key}' \
  -H 'Content-Type: multipart/form-data' \
  -F 'ShowTooltip=false' \
  -F 'ShowCreateButton=true' \
  -F 'ShowSaveButton=true' \
  -F 'ShowNavigationButtons=true' \
  -F 'Locale=EN' \
  -F 'ViewOption=PreparePage' \
  -F 'ShowPreviewButton=true' \
  -F 'ShowToolbar=true' \
var apiClient = new ApiClient("https://api.boldsign.com", "Your-API-KEY");
var templateClient = new TemplateClient(apiClient);

 // This is an example, add your own template id.
 var templateId = "{Your template Id}";

var embeddedTemplateEditRequest = new EmbeddedTemplateEditRequest()
{
       TemplateId = templateId,
        // customize page options
        ViewOption = PageViewOption.FillingPage,
        ShowToolbar = true,
        ShowNavigationButtons = false,
        ShowSaveButton = false,
        ShowPreviewButton = true,
        ShowCreateButton = false,
        ShowTooltip = false,
};
var embeddedTemplateEdited = await templateClient.GetEmbeddedTemplateEditUrlAsync(embeddedTemplateEditRequest).ConfigureAwait(false);

var templateEditUrl = embeddedTemplateEdited.EditUrl;
import boldsign

configuration = boldsign.Configuration(host = "https://api.boldsign.com", api_key="YOUR_API_KEY")

with boldsign.ApiClient(configuration) as api_client:

    template_api = boldsign.TemplateApi(api_client)

    embedded_template_edit_request = boldsign.EmbeddedTemplateEditRequest(
        viewOption = "PreparePage",
        showPreviewButton = True,
        showToolbar = True,
        showNavigationButtons = False,
        ShowSaveButton = False,
        ShowCreateButton = False,
        ShowTooltip = False
    )

    embedded_template_edited = template_api.get_embedded_template_edit_url(
        template_id = "YOUR_TEMPLATE_ID",
        embedded_template_edit_request = embedded_template_edit_request
    )
import { TemplateApi, EmbeddedTemplateEditRequest } from "boldsign";

const templateApi = new TemplateApi("https://api.boldsign.com");
templateApi.setApiKey("YOUR_API_KEY");

const embeddedTemplateEditRequest = new EmbeddedTemplateEditRequest();
embeddedTemplateEditRequest.viewOption = EmbeddedTemplateEditRequest.ViewOptionEnum.PreparePage;
embeddedTemplateEditRequest.showPreviewButton = true;
embeddedTemplateEditRequest.showToolbar = true;
embeddedTemplateEditRequest.showNavigationButtons = true;
embeddedTemplateEditRequest.showSaveButton = true;
embeddedTemplateEditRequest.showCreateButton = true;
embeddedTemplateEditRequest.showTooltip = false;

const response = templateApi.getEmbeddedTemplateEditUrl("YOUR_TEMPLATE_ID", embeddedTemplateEditRequest);
<?php require_once "vendor/autoload.php";

$config = new BoldSign\Configuration();
$config->setHost('https://api.boldsign.com');
$config->setApiKey('YOUR_API_KEY');

$templateApi = new BoldSign\Api\TemplateApi($config);
$embeddedTemplateEditRequest = new BoldSign\Model\EmbeddedTemplateEditRequest();
$embeddedTemplateEditRequest->setViewOption('PreparePage');
$embeddedTemplateEditRequest->setShowPreviewButton(true);
$embeddedTemplateEditRequest->setShowToolbar(true);
$embeddedTemplateEditRequest->setShowNavigationButtons(true);
$embeddedTemplateEditRequest->setShowSaveButton(true);
$embeddedTemplateEditRequest->setShowCreateButton(true);
$embeddedTemplateEditRequest->setShowTooltip(false);

$templateEditUrlResponse = $templateApi->getEmbeddedTemplateEditUrl("YOUR_TEMPLATE_ID", $embeddedTemplateEditRequest);
ApiClient client = Configuration.getDefaultApiClient();
client.setBasePath("https://api.boldsign.com");
client.setApiKey("YOUR_API_KEY");

TemplateApi templateApi = new TemplateApi(client);
EmbeddedTemplateEditRequest embeddedTemplateEditRequest = new EmbeddedTemplateEditRequest();
embeddedTemplateEditRequest.setViewOption(EmbeddedTemplateEditRequest.ViewOptionEnum.PREPARE_PAGE);
embeddedTemplateEditRequest.setShowPreviewButton(true);
embeddedTemplateEditRequest.setShowToolbar(true);
embeddedTemplateEditRequest.setShowNavigationButtons(true);
embeddedTemplateEditRequest.setShowSaveButton(true);
embeddedTemplateEditRequest.setShowCreateButton(true);
embeddedTemplateEditRequest.setShowTooltip(false);
EmbeddedTemplateEdited result = templateApi.getEmbeddedTemplateEditUrl("YOUR_TEMPLATE_ID", embeddedTemplateEditRequest);
In the example above, replace
templateIdwith the actual ID of the template you want to edit.Depending on your requirements, you can adjust various options such as
ShowCreateButton,ShowSaveButton,andShowNavigationButtonsto control the user interface elements during the editing process.The
ViewOptionfield determines whether users are directed to the form field configuration pagePreparePageor the document upload pageFillingPage.After executing the codes, an URL will be generated in the response body.
Load the generated URL on your website. You will be redirected to the template’s filling page or prepare page based on the
ViewOptionfield’s value.Once editing is completed, click
Save and proceedto navigate to the prepare page.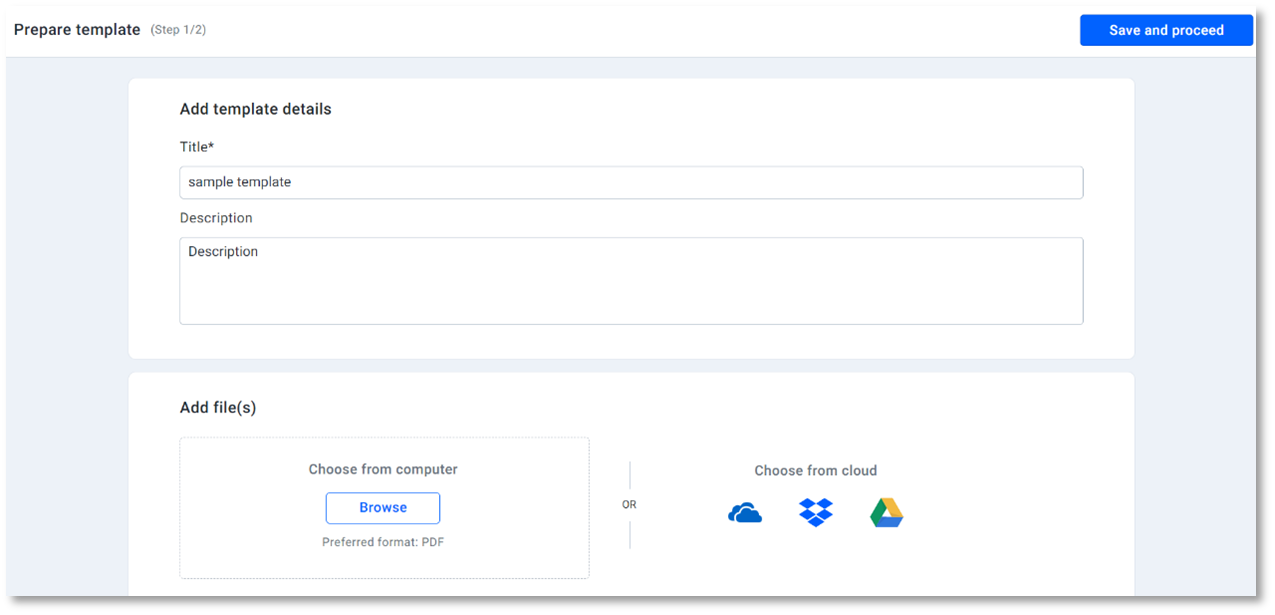
After making necessary modifications in the prepare page, click the
Save templatebutton to save the edited template.
With these steps, you can successfully edit and save an existing template using the BoldSign API.