BoldSign AI Assistant
Chat with the BoldSign AI AssistantHow to Invite New Users to a Team Easily
In BoldSign, you can invite new users to your organization using the API by providing emailId, TeamId, and UserRole as either Admin, TeamAdmin or Member. You can get TeamId by listing the teams if you already have one. Refer to these: How to list teams in API if not create a team: How create a Team - API Documentation - BoldSign.
An account admin can add new users to any team, whereas a team admin can invite new users only to their team. You can add an Additional information about the user in the form of key-value pairs in metadata section.
Some key Points to Note
It's important to note that users cannot be invited if they belong to another organization and the number of users you can invite may be limited based on your BoldSign subscription plan. Different plans offer different limits on the maximum number of users you can invite.
Here are example code snippets in different programming languages that demonstrate how to invite a new user to your organization.
Code snippet
curl --location 'https://api.boldsign.com/v1/users/create' \
--header 'accept: */*' \
--header 'X-API-KEY: {your API key}' \
--header 'Content-Type: application/json' \
--data-raw '[
    {
        "emailId": "{new user email}",
        "teamId": "{your TeamId}",
        "userRole": "member",
        "metaData": {
            "Employee": "Permanent",
            "Department": "Sales",
            "Designation": "Sales Manager"
        }
    }
]'
// Metadata property requires beta version of the SDK at least v4.10.18-beta
var apiClient = new ApiClient("https://api.boldsign.com", "{apikey}");
var userClient = new UserClient(apiClient);

var createUserRequest = new List<CreateUserRequest>()
{
    new CreateUserRequest()
    {
        EmailId = "{new user email}",
        TeamId = "{your team Id}",
        UserRole = UserRoleType.Member,
        MetaData = new Dictionary<string, string>()
        {
            ["Employee"] = "Contract",
            ["Department"] = "Sales",
            ["Designation"] = "Sales Executive",
        },
    }
};
var createUserResponse = await userClient.CreateUserAsync(createUserRequest).ConfigureAwait(false);
import requests
import json
url = "https://api.boldsign.com/v1/users/create"
payload = [
    {
        "emailId": "{new user email}",
        "teamId": "{your teamid}",
        "userRole": "Admin",
        "metaData": {
            "Employee": "Permanent",
            "Department": "Sales",
            "Designation": "Sales Manager",
        },
    }
]
headers = {
    "accept": "*/*",
    "X-API-KEY": "{your API key}",
    "Content-Type": "application/json",
}
response = requests.post(url, headers=headers, data=json.dumps(payload))
print(response.text)
const axios = require('axios');
axios.post(
    'https://api.boldsign.com/v1/users/create',
    [
        {
            emailId: "{new user email}",
            teamId: "{your team id}",
            userRole: "Member",
            metaData: {
                Employee: "Contract",
                Department: "Sales",
                Designation: "Sales Executive",
            },
        }
    ],
    {
        headers: {
            accept: '*/*',
            'X-API-KEY': '{your api key}',
            'Content-Type': 'application/json',
        },
    }
).then((response) => {
    console.log(response.data);
});
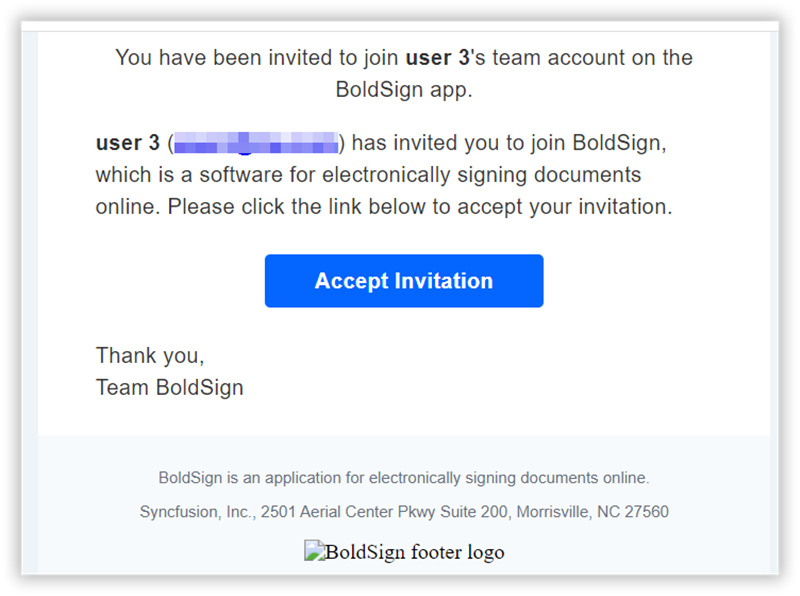
In the above Example , Replace the EmailId with your new user email address and teamId with the team id value that you want. Upon execution, the new users will be sent a verification email from BoldSign. This email contains a link for the user to verify their email address.
For a visual reference, please take a look at user invite sent in email as shown below.